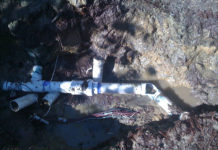
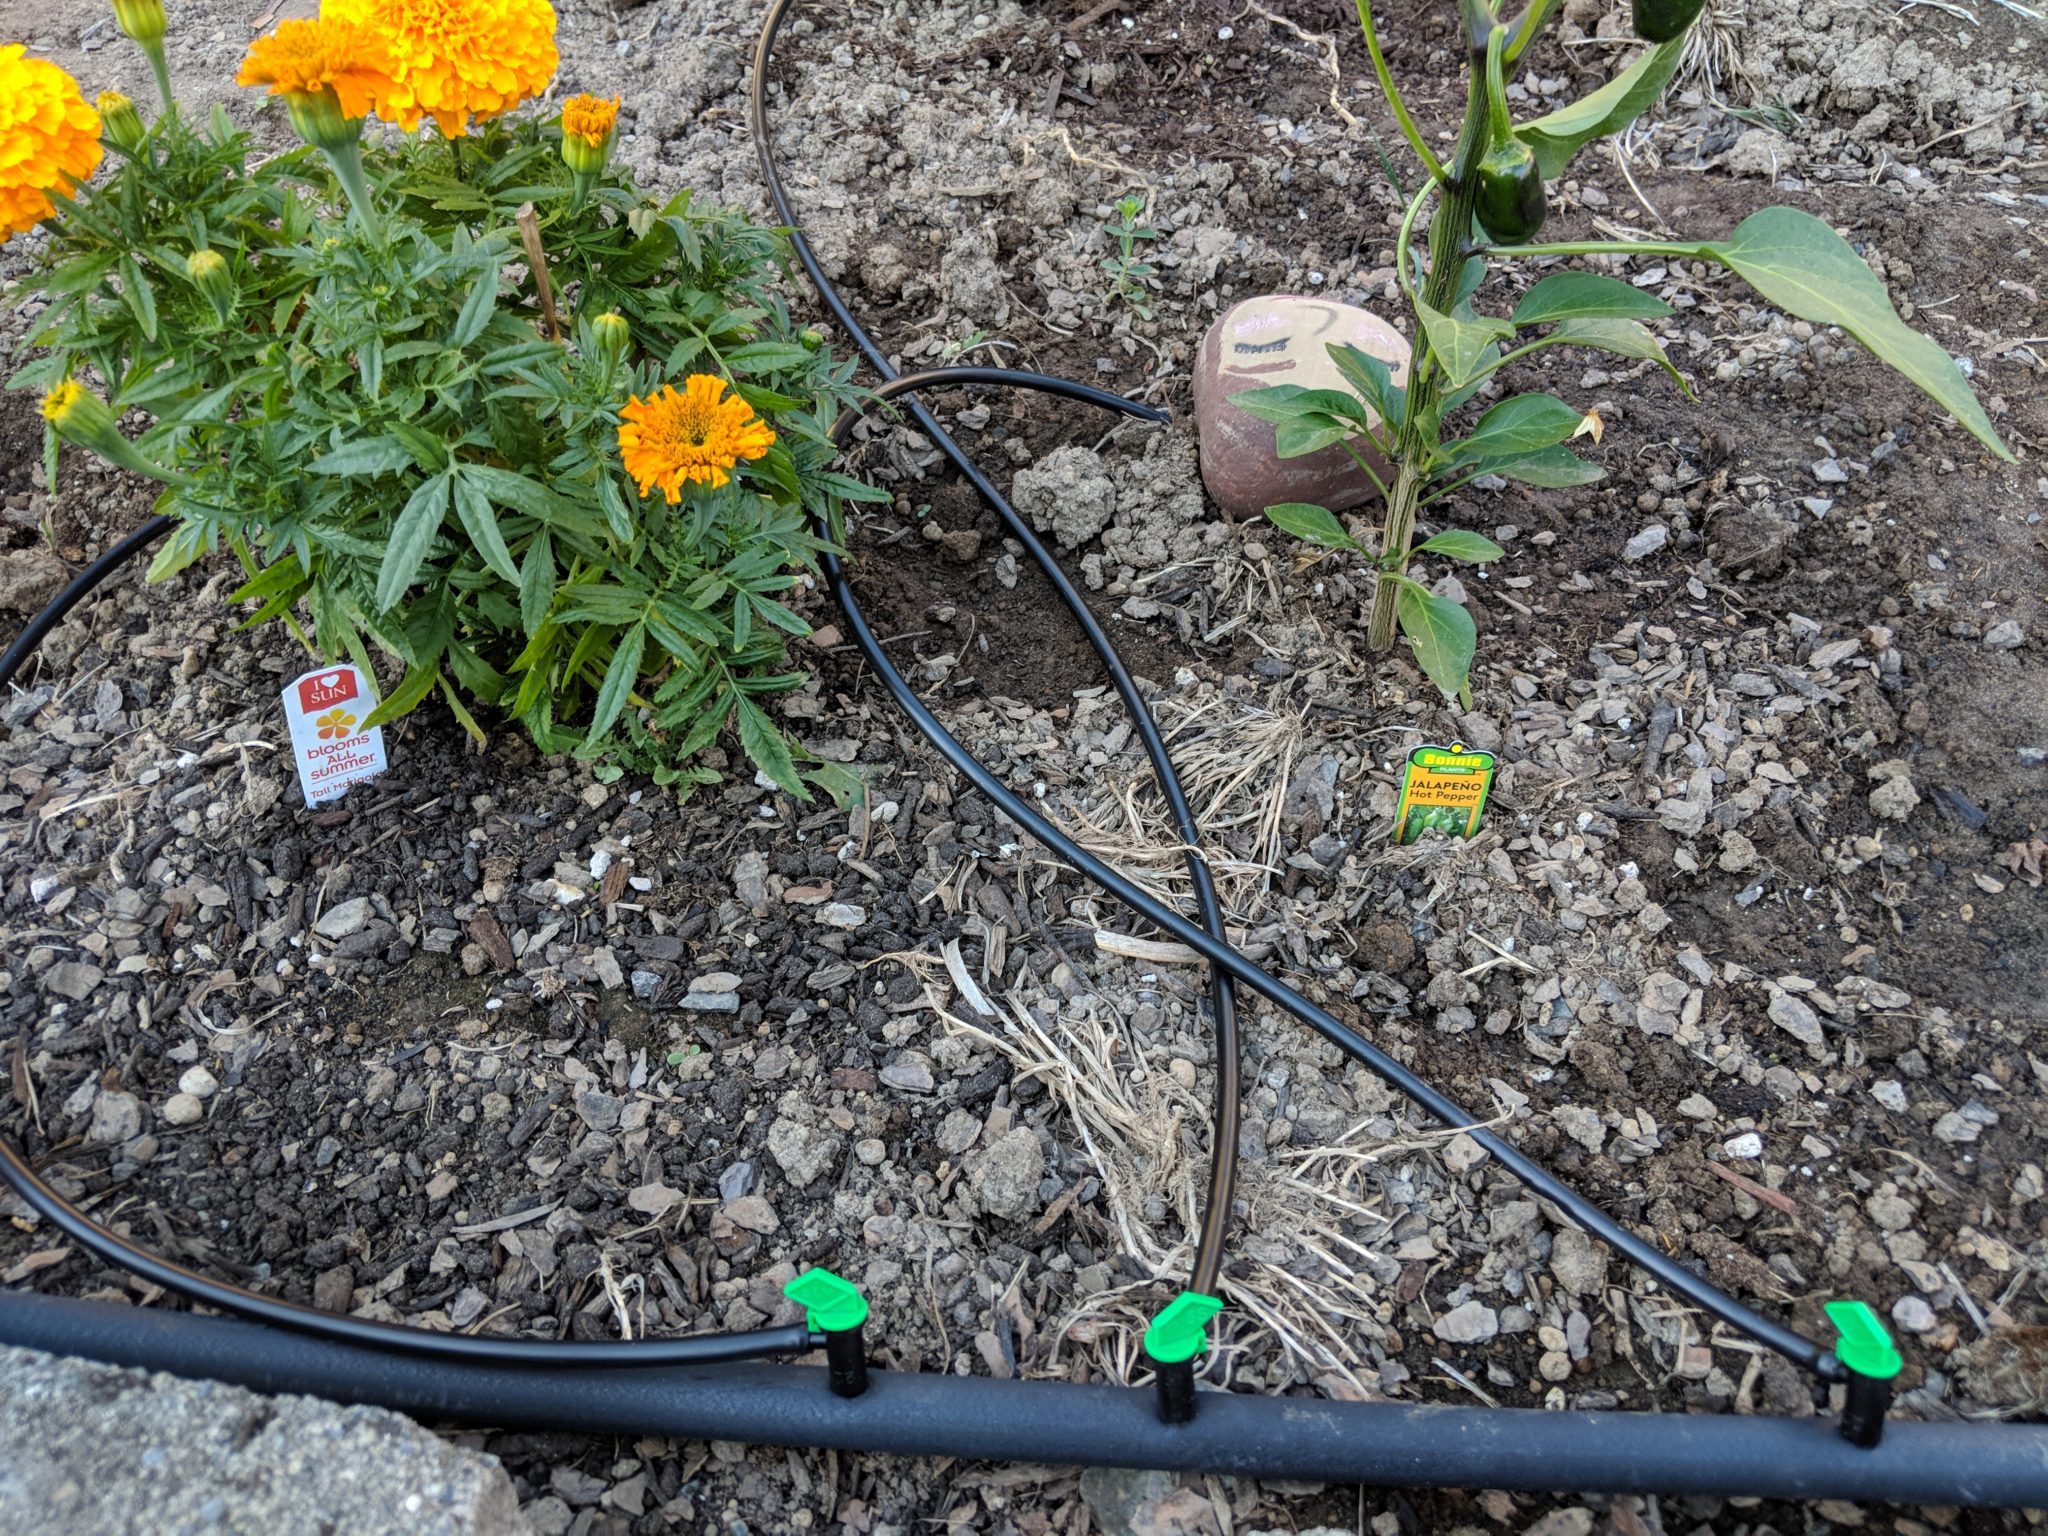
If you suspect you have a leak first you need to verify that you actually do, wet areas can be attributed to many different things. As a service technician, I was called out to multiple service calls where the problem was not in the irrigation or sprinkler system at all.
More Reading: Upgrade to a smart sprinkler system controller.
Where is the water coming from?
First off you need to identify your water source, this will either be a backflow device or a well and pump. Leaks in sprinkler systems that are supplied by pumps are usually easy to identify. Why?
Let’s start with sprinkler pumps
Pumping systems works in one of two ways, pumps are either attached to a pump start relay or a pressure switch.
Pressure switches maintain pressure. Once the pressure in the system lowers to a certain level the contacts close completing the circuit to the pump and the pump comes on.
This makes it easy to identify if you have an issue. If the pump comes on and off randomly then you know you have a leak somewhere. WAIT you are not finished there.
The leak can either be in the suction line or the supply line.
Pumps work by sucking water out of one area and pushing it to another when the pump turns off, the pressure inside the pump attempts to rush back to the suction side, due to its low pressure.
If you have a leak in the suction side or a back check valve the water will rush back to the source and most often you will never see any visual signs of a leak.
Pump Start Relays
Pump start relays work by the controller sending a signal out from the “Master Valve” terminal to the pump start relay. When the pump start relay gets the signal the contact closes turning the pump on.
This makes leaks harder to detect since the system is only pressurized with the controller tells it to come on. So how do you tell if you have a leak?
What I always did was turn on a zone in the controller that does not have a wire on it and let the system pressurize. Once pressurized you can turn off the zone and the system should hold pressure.
If it does not, then you know you have a leak.
Backflow Preventor Leak Detection
Backflows are sometimes supplied by a separate water meter; this makes leak detection very simple. Water meters have leak detectors built into them in the form of a small triangle on the main display.
With even the smallest amount of flow, the triangle will begin to spin. You can test this by looking at the meter and slightly open a test cock on the backflow using a flat head screwdriver.
In addition, I always like to mark the water meter with a Sharpe marker give it a few minutes and come back and check it. The mark should not move.
No Separate Meter
If your sprinkler system does not have its own meter, don’t worry I have a solution. Simply shut off one of the ball valves and leave it off for a few minutes.
Once you are ready to turn it back on you can open it slightly and listen for water rushing by as it opens.
If you have access to pressure gauges, you can also put a ¼” pressure gauge on the outgoing side of the ball valve and one on the incoming side. Once again shut the water off and wait to see if there is a difference in pressure.
What’s Next?
Now that you have identified that you have a leak, we need to find out where the leak is located. If there is a break in the pipe most often than not you will see a swampy spot in your yard.
At which point, you will need to get out the shovel and get dirty. Slow leaks are often a pain to locate, I prefer to dig them up with the water running. Then once you have a hole in the ground you can reach your hand into it and feel which direction the water is coming from.
The water will often be colder than the mud your hand is in or you will feel some direction in which it is coming from. Unfortunately, there are no fancy tricks to this, other than to remember that water takes the path of least resistance. Meaning it will not run up hill!
Ok so what if the water coming out of a sprinkler head?
Most leaks typically are due to leaking valves. There are two main causes to this, a damaged diaphragm in the valve or debris or trash made it to a valve.
In either case, the valve cannot properly close and a small number of water leaks by.
How can you identify which valve is leaking?
First, open up your controller and look to see if each station has a different color wire going to it. If it does then great! All you need to do is find which zone has water leaking from the heads and trace that wire back to a valve manifold.
If all the wires are the same color, it makes it a bit tricker. You will still need to locate the valve manifold to see which valve is leaking.
How to locate the valve manifold
Hopefully, you have some idea of where they are located, I preferred to install them in crawl spaces inside homes. If that was not an option you will need to look for low spots in your yard where something could have been buried.
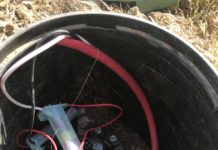
Next poke around with a flat head screwdriver in hopes of finding a valve box, this will either be 6” or 12” circular box and could even be a 24”rectangular box.
If all else fails and you still cannot find it you will need to rent or borrow a 521 wire locator. Most irrigation/sprinkler supplies will have these and some will even allow you to borrow one.
I found the valve now what?
First off you need to make sure you have the right one. You can do this by putting the metal point of the shovel directly on top of the solenoid valve and put the handle end to your ear. If the valve is leaking you will hear the water run through it.
Next, you can turn the valve on manually, but turning the solenoid counterclockwise no more than 1 full turn. BE CAREFUL not to fully unthread it.
Once it comes on, make sure the same zone pops up that you identified the problem in.
Once identified the bad sprinkler valve you have 2 options
Replace the entire valve with a new one, or replace the guts. Me being lazy would always rather just replace the guts.
So identify the valve find a replacement, once you have it take apart the new valve first so you know what to expect.
Turn the water off, Ha. Yes, don’t be like me and start disassembling a valve under a house with it pressurized. Then once the water is off open up the valve and let the pressure bleed off.
Most often than not, you only need to replace the diaphragm, but it never hurts to replace all the parts.
Once you’re done, turn the water back on and repeat the leak detection steps to make sure you fixed the leak!
If you liked this article please share it and comment below or if you would like more information please fill out the contact form and send me an email. I would love to hear your thoughts and feedback.
